Google Account Creation
A Google Account is needed for us to provide you with access/ownership of Google Analytics, Google Ads, Google Search Console, Google Business Verification, and other Google products.
Note: When creating a Google account, you don’t have to use a “@gmail.com” email address. You can use a custom email address instead.

Add Users to Google Accounts
Google Analytics
- Sign in to Google Analytics.
- Click Admin, and navigate to the desired account or property.
- In the Account or Property column, click Access Management.
- In the Account permissions list, click +, then click Add users.
- Change the permissions to match the bottom image / instructions below. Once settings have been adjusted, click Add (top right).
- Email Address: seo@coursevector.com (uncheck “Notify new users by email”)
- Edit: Checked
- Collaborate: Checked
- Read & Analyze: Checked
- Manage Users: Unchecked
- Click Add.
- Update your SEO technician that access has been granted to the account in your ticket.


Google Search Console
- Login to Google Search Console.
- Choose a property in Search Console from the top left “≡” menu.
- Click the Settings in the navigation pane. This can be found about 3/4 of the way down on the left column menu.
- Click Users & permissions.
- Click Add user (top right).
- Type “seo@coursevector” for the email address and select “Full” for the permission level. Click add.
- Let the technician in your ticket know that permission has been granted.
Google Business Profile
- Go to your Google Business Profile. If having trouble accessing your profile, lean how to find your profile here.
- Click Menu “≡” and then Business Profile settings and then Managers.
- At the top left, click Add +?.
- Enter “seo@coursevector.com”.
- Under “Access,” choose Manager.
- Click Invite.
- Let the technician in your ticket know that permission has been granted.
YouTube Account
- Login to YouTube and navigate to https://studio.youtube.com
- On the left-hand side, click Settings.
- Click Permissions.
- Click Invite and enter “the “seo@coursevector.com” into the email address field.
- Click Access and select the “Manager” role.
- Click Save.
- Notify CourseVector via your ticket that the invite was sent.
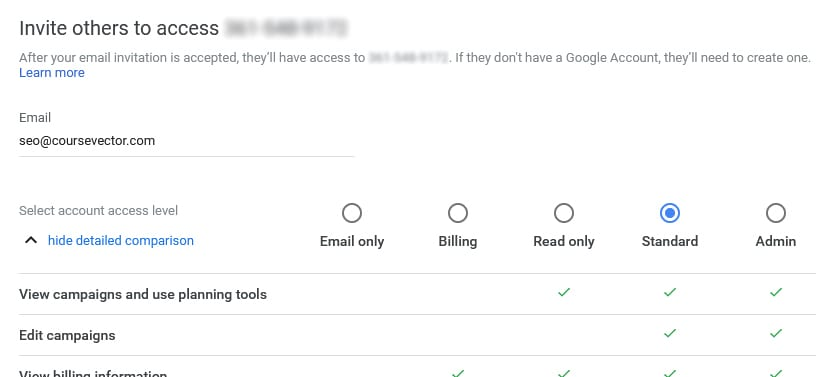
Google Ads Account
- Login to your Google Ads account at https://ads.google.com/
- Select the campaign you wish to provide CourseVector access to.
- Click on Settings –> Access & Security (wrench icon on the top bar).
- Click on the blue + icon to add a new user.
- Add seo@coursevector.com and set the account access to “Standard”. Scroll down to the bottom of the page and click “Send Invitation”.
- Update your ticket with us to let us know this has been completed.

Google Tags Account
- Login to Google Tag Manager at https://tagmanager.google.com/
- Click Admin.
- In the Account column, select User Management.
- Click +
- Select Add new users.
- Enter “one or more”seo@coursevector.com” into the email addresses field.
- Set Account Permissions to Administrator.
- Click Invite.
- Update your ticket with us to let us know this has been completed.
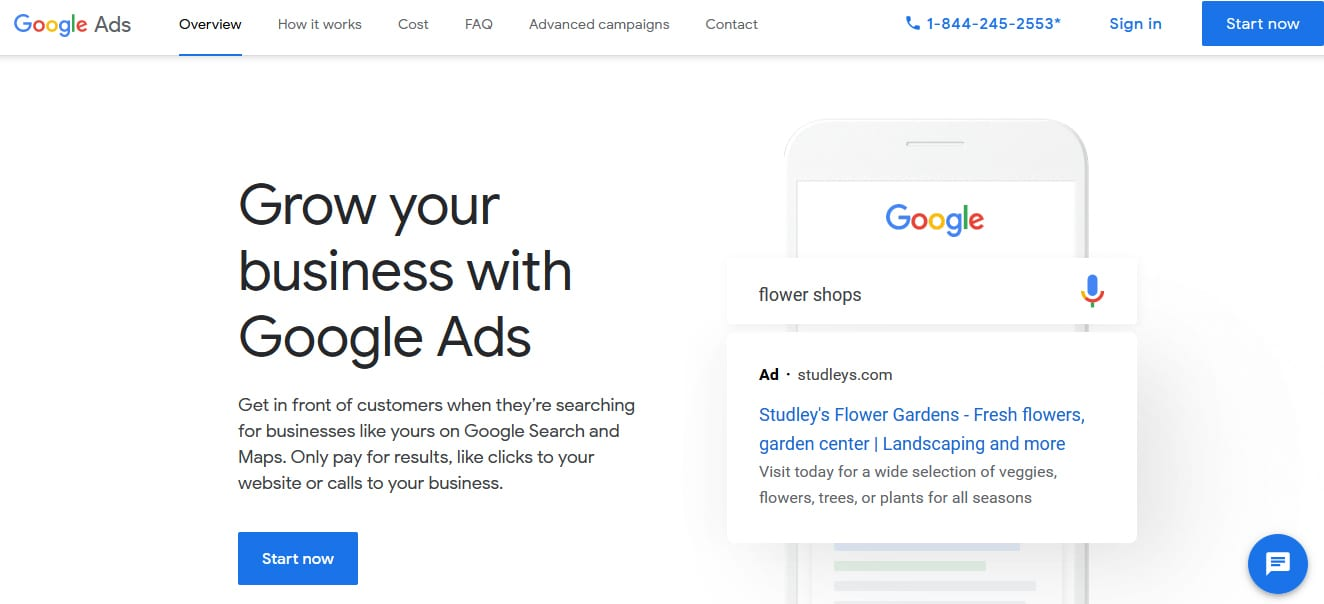
Google Ads Account Creation
If you do not have a Google Ads account, follow these instructions. If you already have a Google Ads account and an active campaign, please follow the instructions below to invite CourseVector to have access.
- Visit https://ads.google.com/ and login or create an account.
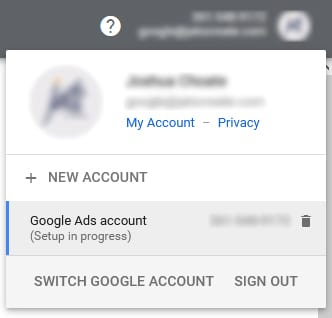
- Once logged in you will be prompted to create a new campaign. You are going to skip this. We will do this for you. Instead, click your account information in the top right corner and then click “My Account”.
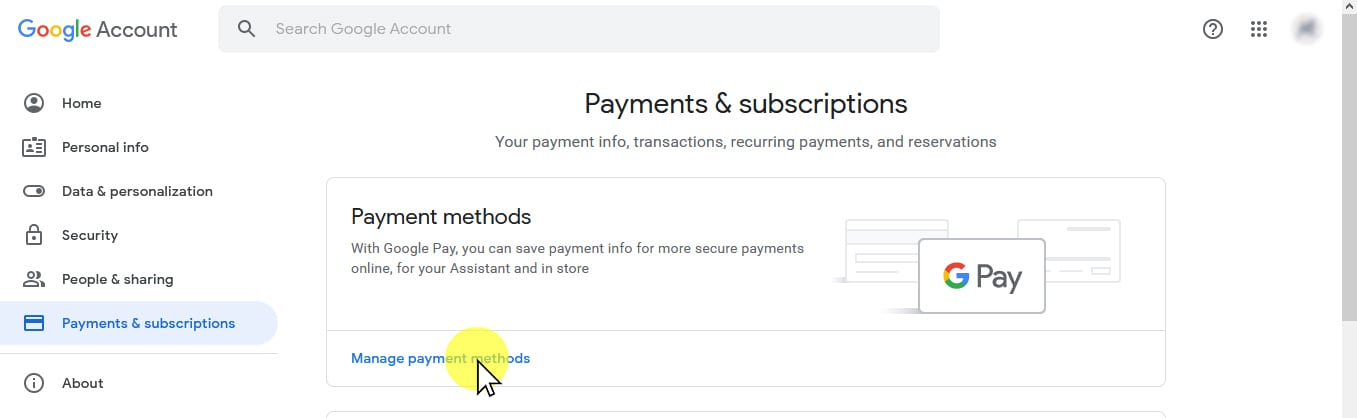
- Click on Payments and Subscriptions on the left menu and then click Manage Payment Methods. Run through the steps here to add your payment information.
- Notify CourseVector in your ticket and provide access to your Google Ads account via the instructions listed above.
Google Search Console Ownership Verification
Step 1
- Navigate to https://search.google.com/search-console/ownership
- Choose the property from the top left (below the “≡”).
- Download the html file, attach the file in an email response to the ticket and send to CourseVector.
Step 2
- Click on https://search.google.com/search-console/ownership
- Choose the property from the top left (below the “≡”).
- Click “Verify”. You will receive a notification that verification has been successful.
- Notify CourseVector via your ticket that the verification was successful (or unsuccessful).
Google Business Profile Verification
It is necessary to claim and validate your business with Google for your business to appear in Google Maps and appear properly in searches. This helps to build trust between you and the consumer.
Should you verify your business via snail mail, you will receive a postcard that looks like this:
You will then need to enter the code on the postcard at the URL also listed on the card.
If we are handling your SEO and/or social media, you can send us the code using your SEO ticket number.

