Everything in life is competing for our attention. In order to be successful in a world full of very creative competition, your website must be visually pleasing as well as functionally sound. Yes, even government websites should be nice to look at! Even if you’re not a professional photographer, you can gather and create stunning images for your website.
You don’t need a fancy camera to take a good photo. Modern cell phones take large and good quality photos!
Types of images
While there are many image types to choose from, not all images work on the web. Jpgs and pngs should be used for photographs and graphics online.
- Jpg – Short for Joint Photographic Experts Group, jpgs should be used for most of your images online. This is the file type that most digital cameras and cell phone cameras capture, so they are easy to come by.
- Png – Short for Portable Network Graphics, pngs are especially useful when you need a transparent background (like for a logo).
Images size
Size matters when it comes to images. While you don’t want your images to be too big (as they will take up a lot of space on the server and increase website load times), you do not was your images to start off too small either. You can make large images smaller, but you cannot make small images larger without the quality suffering.
- Header images – You want these to be landscape images with a minimum size of 1920px by 600px. While it’s important to design for mobile we cannot forget that desktop monitors are growing in size. More information about creating good header images can be found here.
- Images throughout the site – The size and shape of these images depends on how large the images will appear on your site. Typically photos with a minimum size of 600px by 400px are large enough for most uses. Just keep in mind that portrait photos don’t fit very well into landscape sized spaces. Choosing the right photo orientation is key.
Taking your own photos
Most people with a modern smartphone can take images large enough to display beautifully on a website. Professional photographer Ewa Samples likens taking photos to following a recipe for baking a cake. “TRY TO BE MORE LIKE CAKE BOSS AND LESS OF A PERSON WHO BUYS A CAKE MIX,” says Samples. Here is her recipe for taking great photographs.
- Start with a vision. – Think about where the image belongs. Is it a header image? Then you probably need a landscape photograph. Think about the message you need to convey with the image. Perhaps you’re trying to sell a product. Maybe you want to show visitors how charming your Borough is to visit. Starting with a vision, a mission, for the photograph will help you to capture the most meaningful image possible.
- Assess the available light. – Now we’re getting into thinking like a photographer. Light is everything! For an amateur photographer, and let’s face it – that’s probably most of us, it’s important to take photos at several times of day. Take photos when the sun is high in the sky. Take photos when the sun is setting (also known as the “golden hour“). Take photos on a cloudy day. See which look the best and go from there. If you’re stuck taking photos indoors, take photos with as much natural light as possible! If needed, look into a ring light or external flash. Our web designer can help you to determine which photos work best for your site.
So, if I had to give you only one piece of advice today it would be: LEARN HOW TO USE LIGHT in photography.
Ewa Samples – https://ewasamplesphotography.com/start-creating-beautiful-photos-for-website-social-media/
- Pay attention to your background. – If you’re taking photos of your charming town, it might make sense to have a bunch of random people happily milling about the street. However, if you’re taking photos of a subject, those random people might end up being a distraction. Likewise, if you’re taking photos indoors it is wise to stage the photo so that you don’t capture all of your clutter (or your bathroom).
- Think about action and movement. – While this won’t apply to all photography, photos with action and movement can add both action and movement to your otherwise static website.
- Composition is important. – As Ewa puts it, “think of your photos as if they are a song.” The subject should be the focus most times, but not all times. Sometimes, a wider shot can tell more of a story than a close-up of your subject. The “Rule of Thirds” is the term used in the art world to explain where to position your subject in the composition.
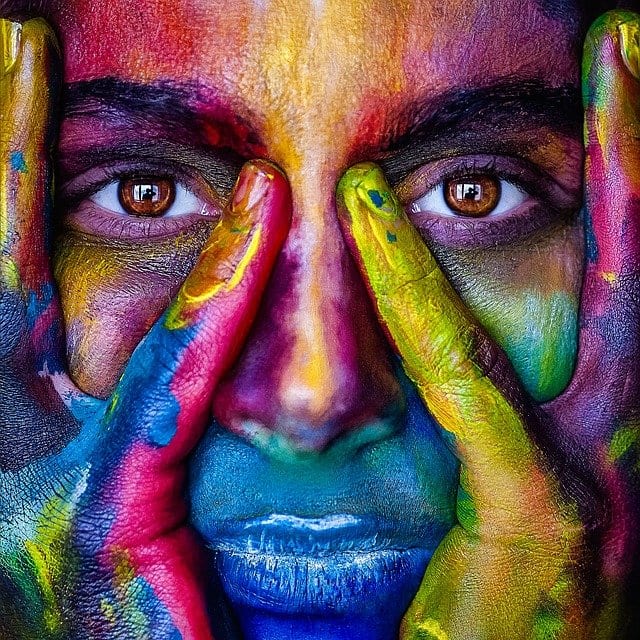
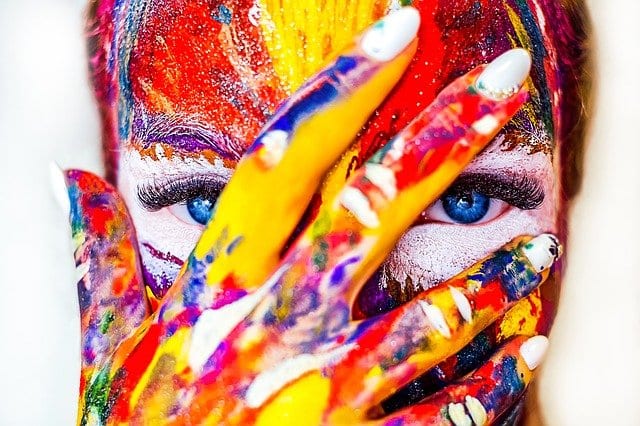
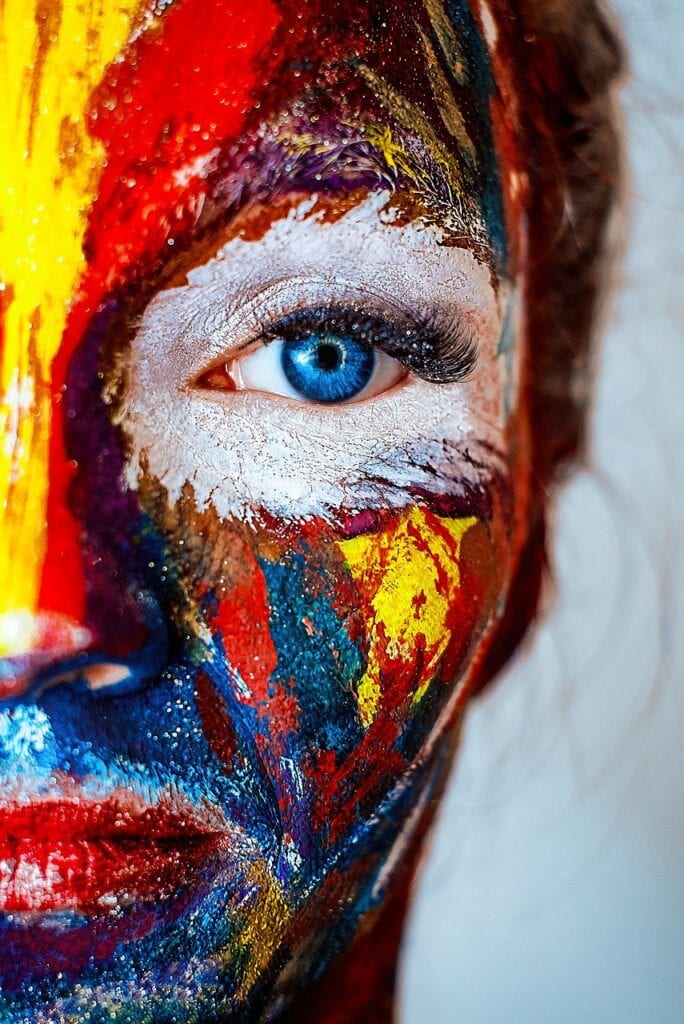
- Take more than one photo. – This is very important for header images especially. Many people will fill the frame with a subject. However, this leaves no room if you need to crop a photo. It is our recommendation to take at least THREE photos of each subject. One should be up close, filling the frame. One should be zoomed out where the subject fills only the very middle of the frame. And one should be somewhere in the middle.


- Editing can be your friend. – Again, there are a small few of us who could be classified as “photographers”. This may mean that we take a bad shot here and there. Your cell phone has built in filters that can lighten up that dark shot. You can crop images to remove distractions. You can blur the background to narrow the focus to your subject. Use editing sparingly, but use it to your advantage. Again, our web developers can help you to edit or crop photos if necessary!
Hiring a photographer
If you don’t feel ambitious enough to take photos yourself, you can hire a professional photographer. It may be worth the money to create professional photos that really bring your brand to life.
Things to consider when hiring a photographer include experience – both the experience the photography has and the experience the photographer creates! Make sure you choose someone who understands your brand and can accurately capture the images that tell your story.
Attention local governments and non-profits: While CourseVector in no way wants to devalue photographers, sometimes you can find one who will donate their time. Perhaps it’s worth the advertising for them to take photos of your Borough for free. Perhaps they simply want to give back to non-profits. Either way, reach out to local photographers to see if they are willing to work with you for free or at a discount. But, please give credit where credit is due! Place the name of the photographer prominently on the site and give your visitors a way to contact the photographer.
Finding stock photos
Sometimes, you don’t need a specific image, you just need an image. Stock photography is perfect when any photo will do. There are plenty of free and paid services throughout the internet.
Free stock photo sites
- https://pixabay.com/ – Hands down our favorite here at CourseVector.
- https://www.pexels.com
- https://unsplash.com
- https://barnimages.com
- https://stocksnap.io
- https://gratisography.com – This site is OUT THERE! The site’s tag line is “Truly unique. Usually whimsy ;) Always free.” and do they deliver on their promise!
- https://www.toptal.com/designers/subtlepatterns/ – This is a great site to use to find background textures and patterns.
- https://www.vecteezy.com/ – This is geared more towards graphics that can be used. Make sure that when searching the site you click on “Free License” on the left column.
Paid stock photo sites
- https://www.bigstockphoto.com/ – We have an account here if you would like us to purchase the photos for you.
- https://www.shutterstock.com
- https://stock.adobe.com
Looking for more on choosing images for your website?